
Contents
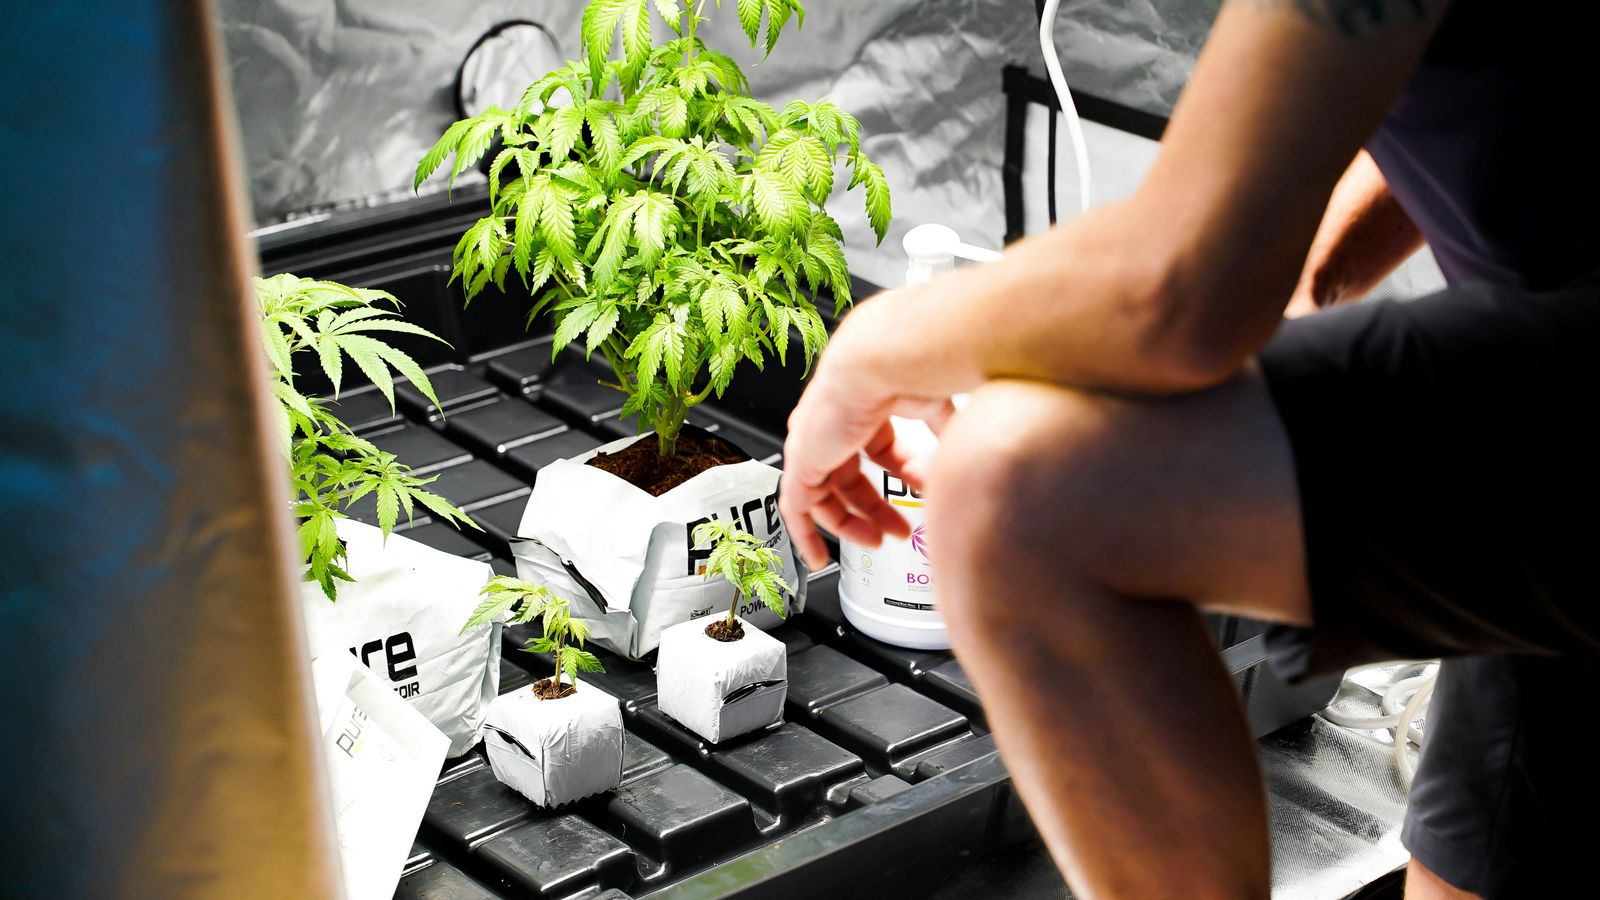
Simply multiply your best plant? That is exactly what cuttings (clones) are: exact genetic copies of a mother plant. Instead of starting from seed every time, you cut off a shoot and root it. That saves time and money and always delivers the same quality. With the right cloning gel, this works reliably for beginners too.
What is a cutting, and why is it worth it?
- Exact copy: the cutting inherits all the mother's traits, including sex. From a female mother you are guaranteed female plants.
- Faster than seed: you skip germination and the seedling phase.
- Cheap: after the first plant, resupply costs you practically nothing.
What you need
- Healthy mother plant in the vegetative phase.
- Sharp, clean scalpel or knife (disinfect beforehand).
- BUDXXL Clone Gel to stimulate rooting with natural amino acids.
- Propagation medium: rockwool or coco cubes, jiffies or fine propagation soil.
- Mini greenhouse with a transparent dome (propagator).
- Spray bottle with water and weak, indirect light (18/6).
Step by step
Prepare the mother plant
Choose a strong plant in the veg phase. Water it well the day before and do not overfeed. Less nitrogen in the shoot makes rooting easier.
Cut the shoot
Take a side shoot with 2 to 3 leaf nodes, about 8 to 12 cm long. Cut with a clean blade at a 45-degree angle directly below a node. The angled surface enlarges the rooting zone. Make sure the cut really sits below the node, not in it or above it; with hollow, tube-like stems that is the difference between roots and rot. Shoots of medium thickness root most reliably: the very thin ones have too few reserves, the thick fresh tips from the very top take much longer.
Reduce leaves
Remove the lower leaves. You can halve large upper leaves, that lowers evaporation while the cutting has no roots yet. Trim so that no leaf hangs down onto the substrate: whatever lies there damp is the first thing to mould. How much you cut depends on space. In a densely filled 104-cell tray the leaves must be smaller than in a 77-cell tray, otherwise they overlap and keep each other damp and dark.
Dip in Clone Gel
Immediately dip the lowest cut end (1 to 2 cm) in BUDXXL Clone Gel. The gel seals the cut and delivers the rooting hormones exactly where the roots form.
Into the medium and under the dome
Place the cutting into the moistened cube and gently press the hole closed. Cut all cuttings of a tray to the same height, otherwise the tall ones shade the small ones, which then get too little light. Then into the mini greenhouse. Keep high humidity, warmth and weak, indirect light (values below). No feeding yet.
Care and waiting
Ventilate as often as you can, meaning take the lid off rather than just opening the vents. Keep the medium moist (not soaking) and mist the inside of the dome if needed. After around 7 to 14 days the first roots form.
Harden off and repot
When roots break through the cube, open the dome for longer and longer over a few days (hardening off), then place the cutting into the pot. From now on feed very lightly with Grow, you will find the plan in the BudXXL feeding schedule.
The right conditions
- 75 to >85 %humidity
- 25 to 26.5 °Ctemperature
- 18/6light (weak)
- 7 to 14 daysuntil roots
From practice: what no manual tells you
The values above are the frame. What makes the difference within it comes from our own cutting production:
- Less light than you think. 10 W of LED over 60 × 40 cm is plenty. More is not better, it tends to produce yellow leaves because a cutting without roots cannot process the energy.
- 26.5 °C is a lovely temperature. The root zone may happily be 2 °C warmer than the top of the plant. A heat mat under the tray delivers exactly that gradient.
- Drench the substrate once with boiling water. That kills germs and mould spores in the cube or seedling soil. Then bring it back to temperature with cold water or simply wait until it has cooled, and only then insert the cuttings.
- Lid off, not just vents open. Fresh air as often as possible. High humidity rebuilds within minutes, mould on the other hand needs stagnant air.
- Same height in the tray. Uneven cuttings mean the small ones stand in the shade of the tall ones. Anything too long is better cut deeper.
- Tray density sets the leaf trim. A full 104-cell tray with no gaps: trim leaves much shorter than in a 77-cell tray. Nothing may rest on the substrate or on a neighbour.
Common mistakes
- Dirty blade. Transfers germs and leads to rot. Always disinfect.
- Too much light or heat. The cutting wilts before it can form roots.
- Too wet or too dry. Both kill cuttings. Keep the medium moist, do not drown it.
- Leaves on the substrate. A damp leaf on a damp cube is the classic starting point for mould. Shorten or remove.
- Cut in the node instead of below it. The shoot rots from the cut instead of rooting.
Cloning help
Cuttings will not root?
Describe your substrate, temperature and humidity briefly in the chat, we will find the right adjustment together.
What comes next
- Cannabis growing for beginners (the big overview)
- The BudXXL feeding schedule explained (feeding after rooting)
- Measuring pH and EC correctly (also for the propagation water)
Matching products
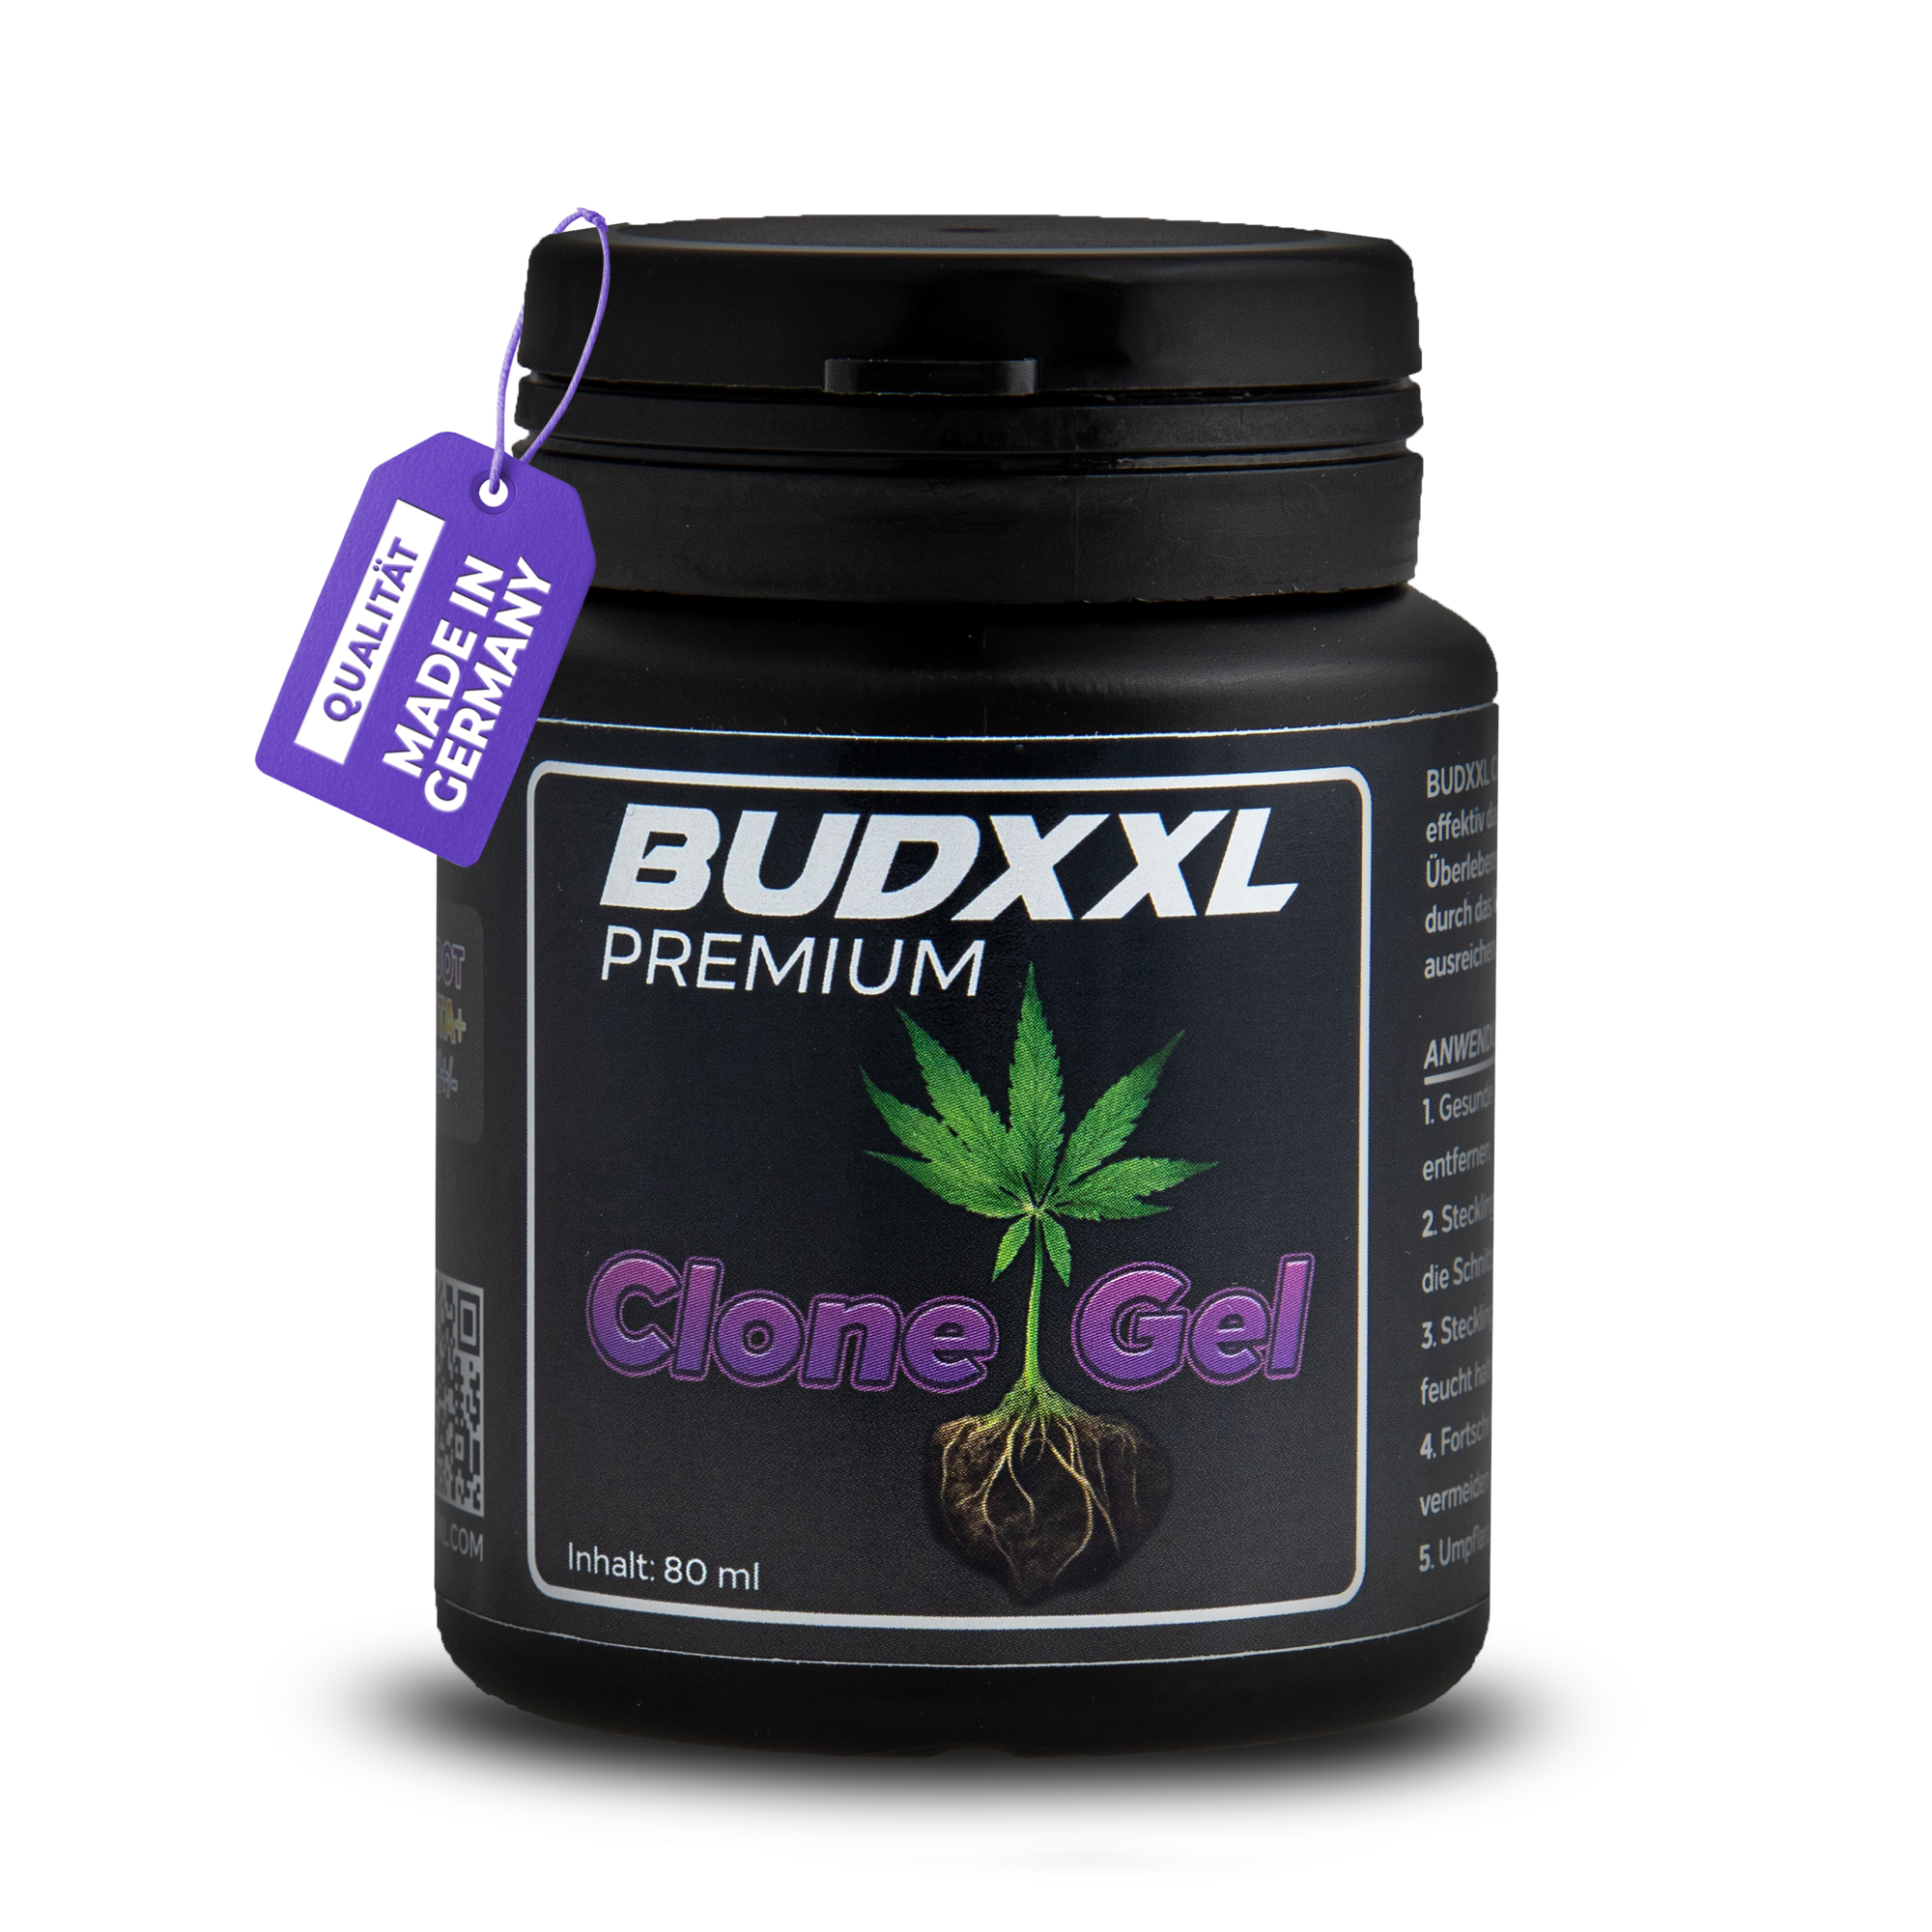 BUDXXL Clone Gel
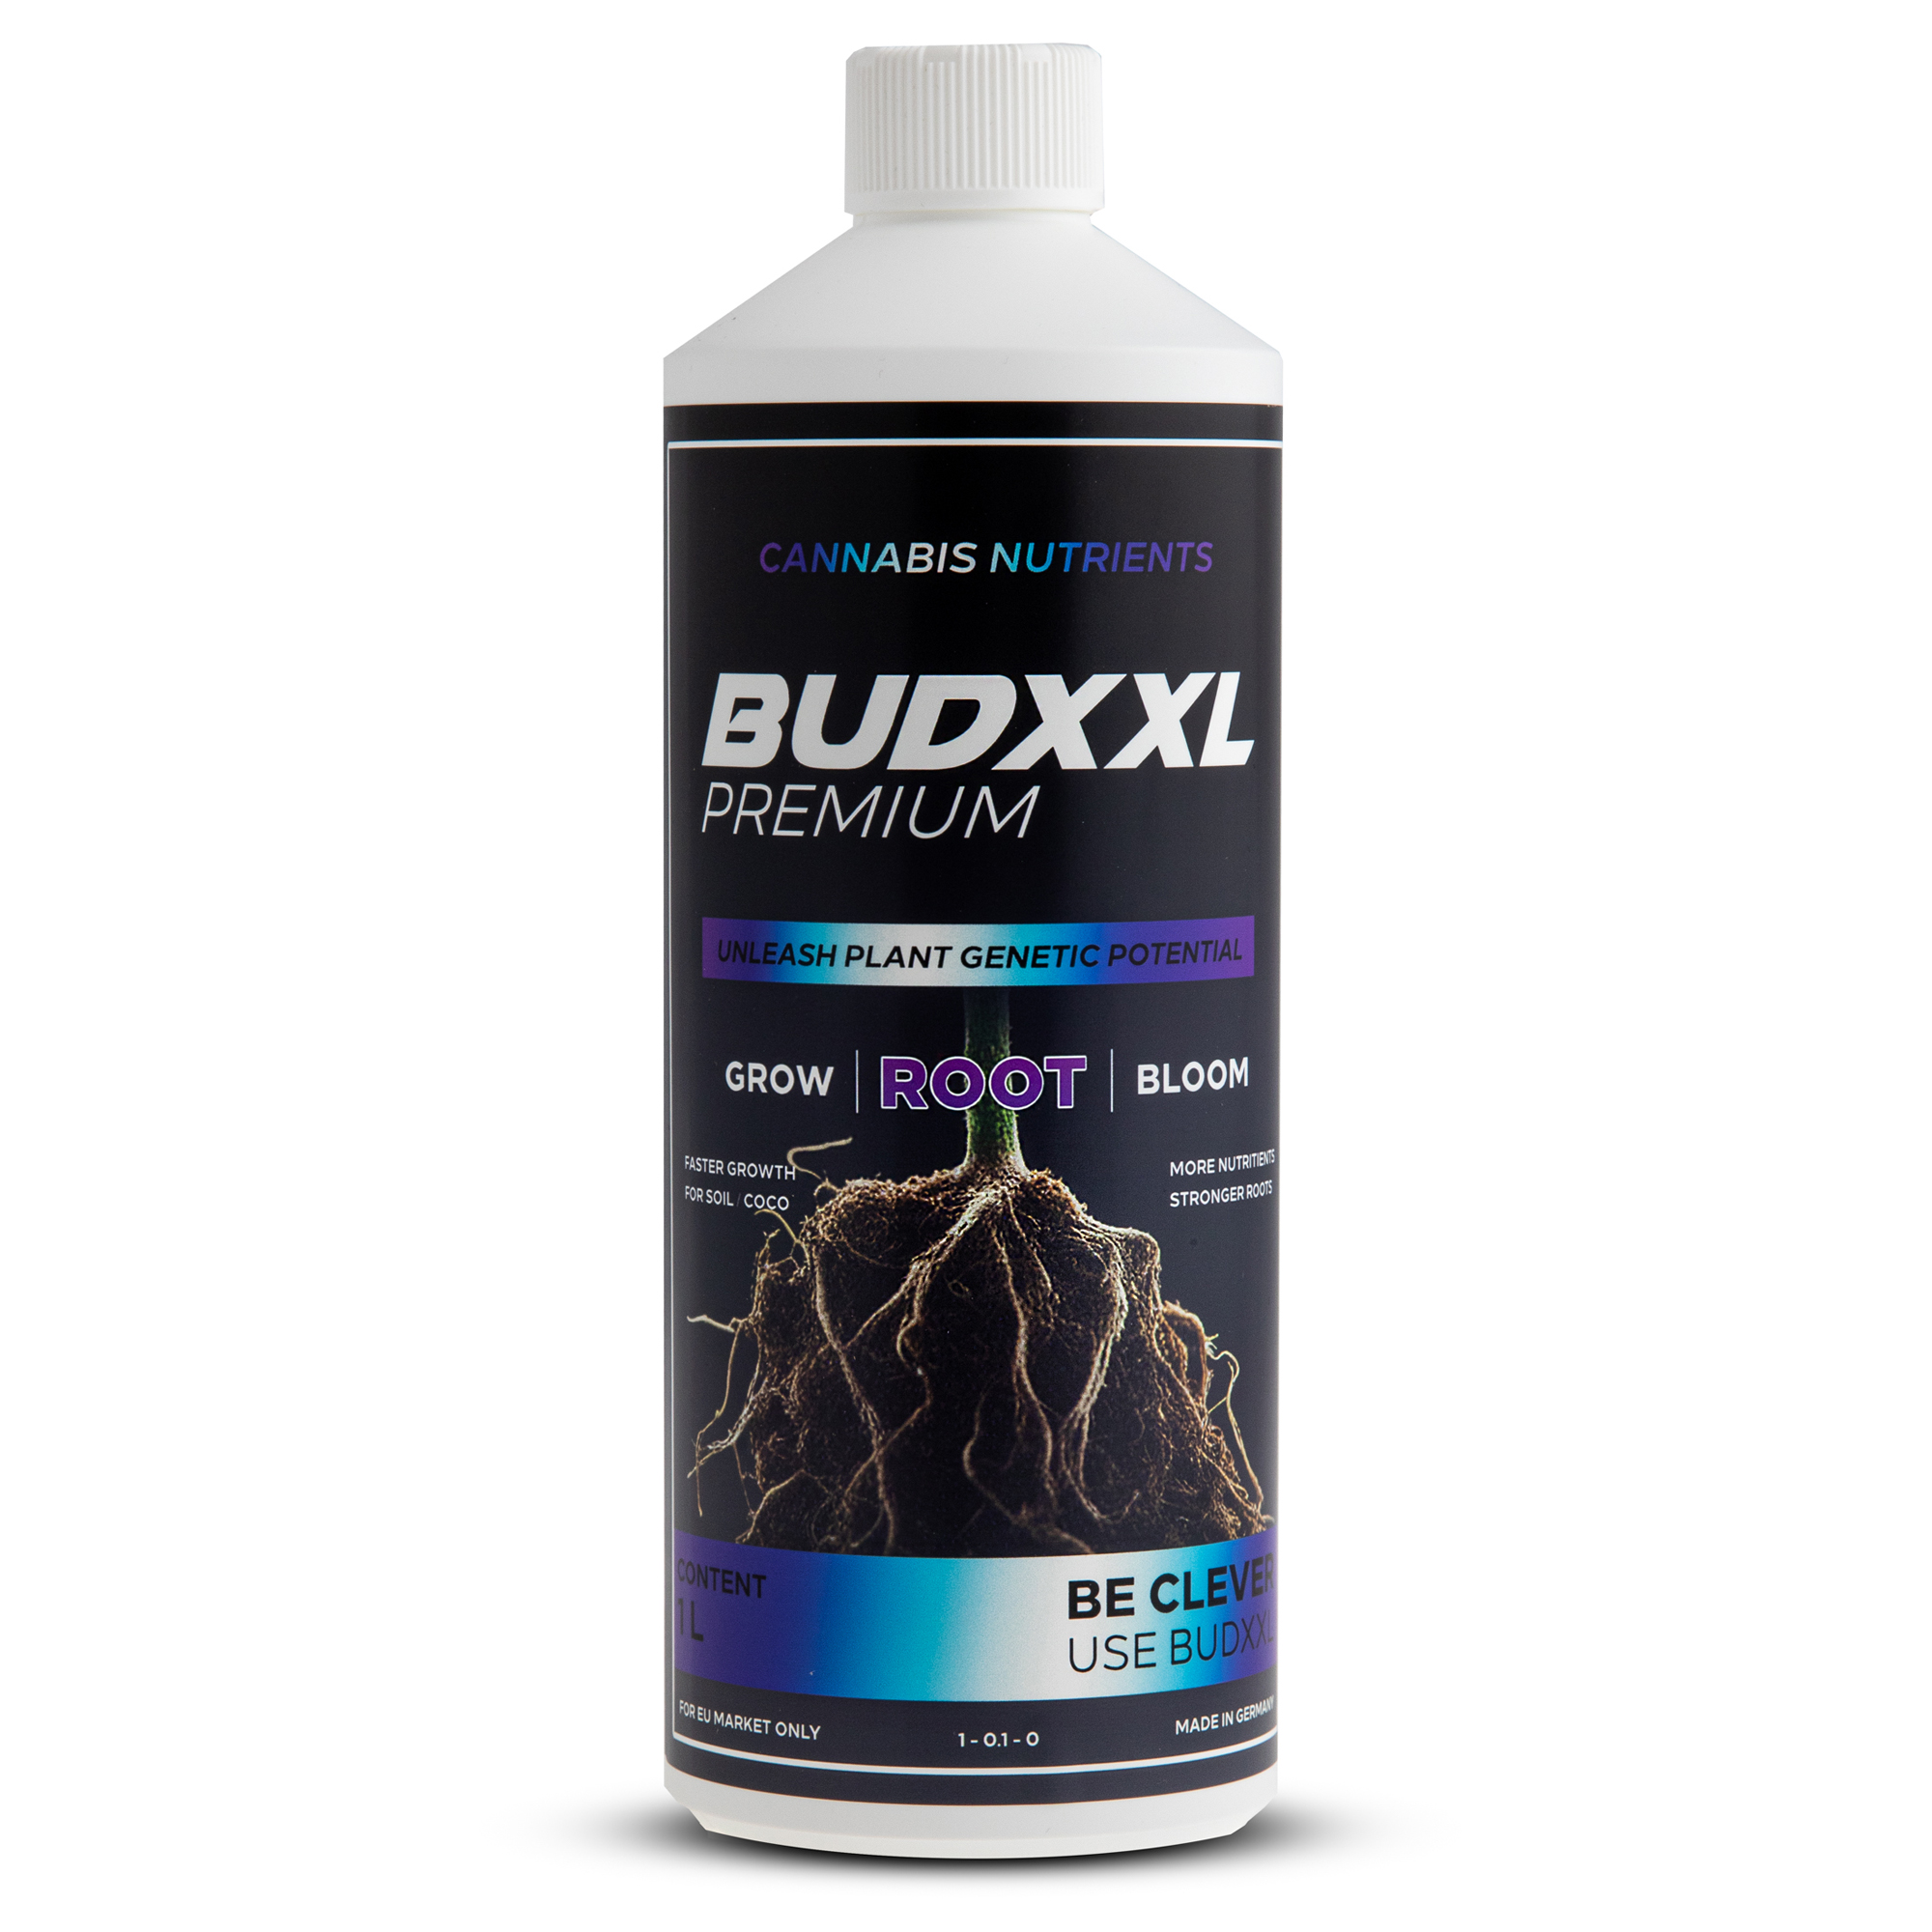 BUDXXL Root
Sources
- Caplan, D., Stemeroff, J., Dixon, M., Zheng, Y. (2018): Vegetative propagation of cannabis by stem cuttings: effects of leaf number, cutting position, rooting hormone, and leaf tip removal. Canadian Journal of Plant Science 98(5). doi.org/10.1139/cjps-2018-0038
Legal note: The private cultivation of cannabis has been permitted in Germany for adults within the legally regulated framework since the Consumer Cannabis Act (CanG, 2024) (personal use, limited number of plants, no access for minors). Note that cuttings and mother plants can also count towards your permitted number of plants. This article is for information and does not replace legal advice.