
Contents
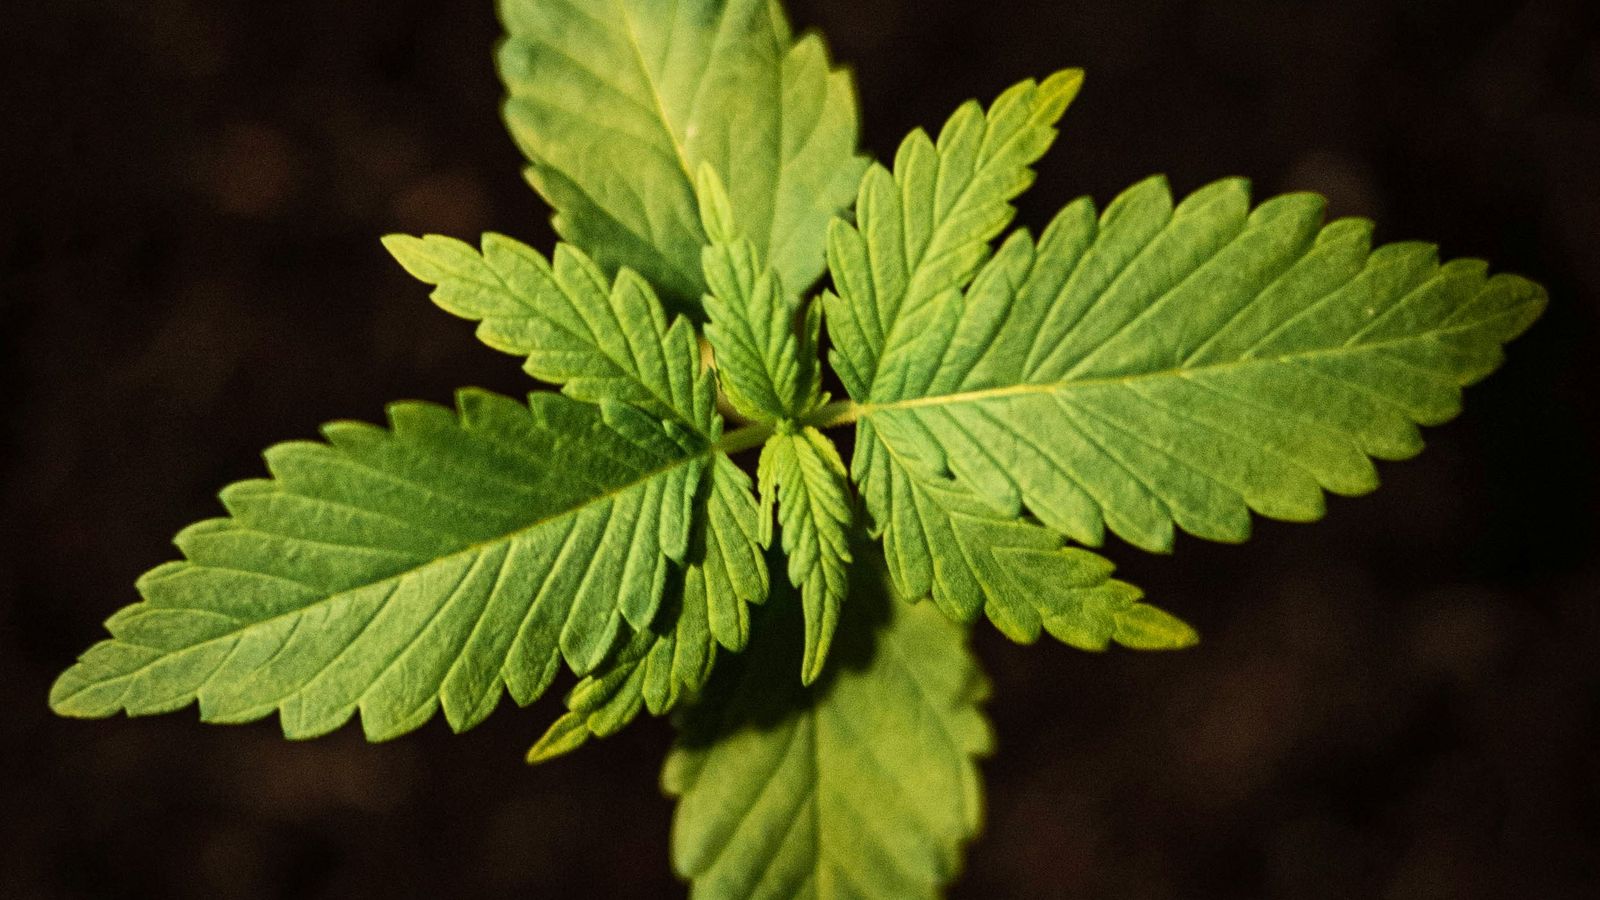
You want to grow your first plant yourself but do not know where to start? This guide is your common thread: it accompanies you from seed to finished harvest, explains every step in plain language and points you to our detailed special guides at the right moments. No prior knowledge needed, just curiosity and a little patience.
The legal framework in brief
Before we begin, the most important points about the law (in detail in the CanG overview: what is allowed?):
- Permitted for adults aged 18 and over for personal use.
- Up to three plants per adult at the same time.
- No sale and no passing on to minors.
- Store plants and harvest protected from access by children and adolescents.
What you need to start
You do not have to buy everything at once. This basic kit makes your life easier:
- Space / grow box: a separated, light-tight area for light, air and smell.
- LED lighting: efficient, little heat, beginner-friendly.
- Ventilation with an activated carbon filter against smell, plus a fan for air movement.
- Pots and substrate: soil (forgiving) or coco (more control). We cover hydroponic and aeroponic setups in our pro guides.
- Meters: a pH meter, and for coco/hydro additionally an EC meter.
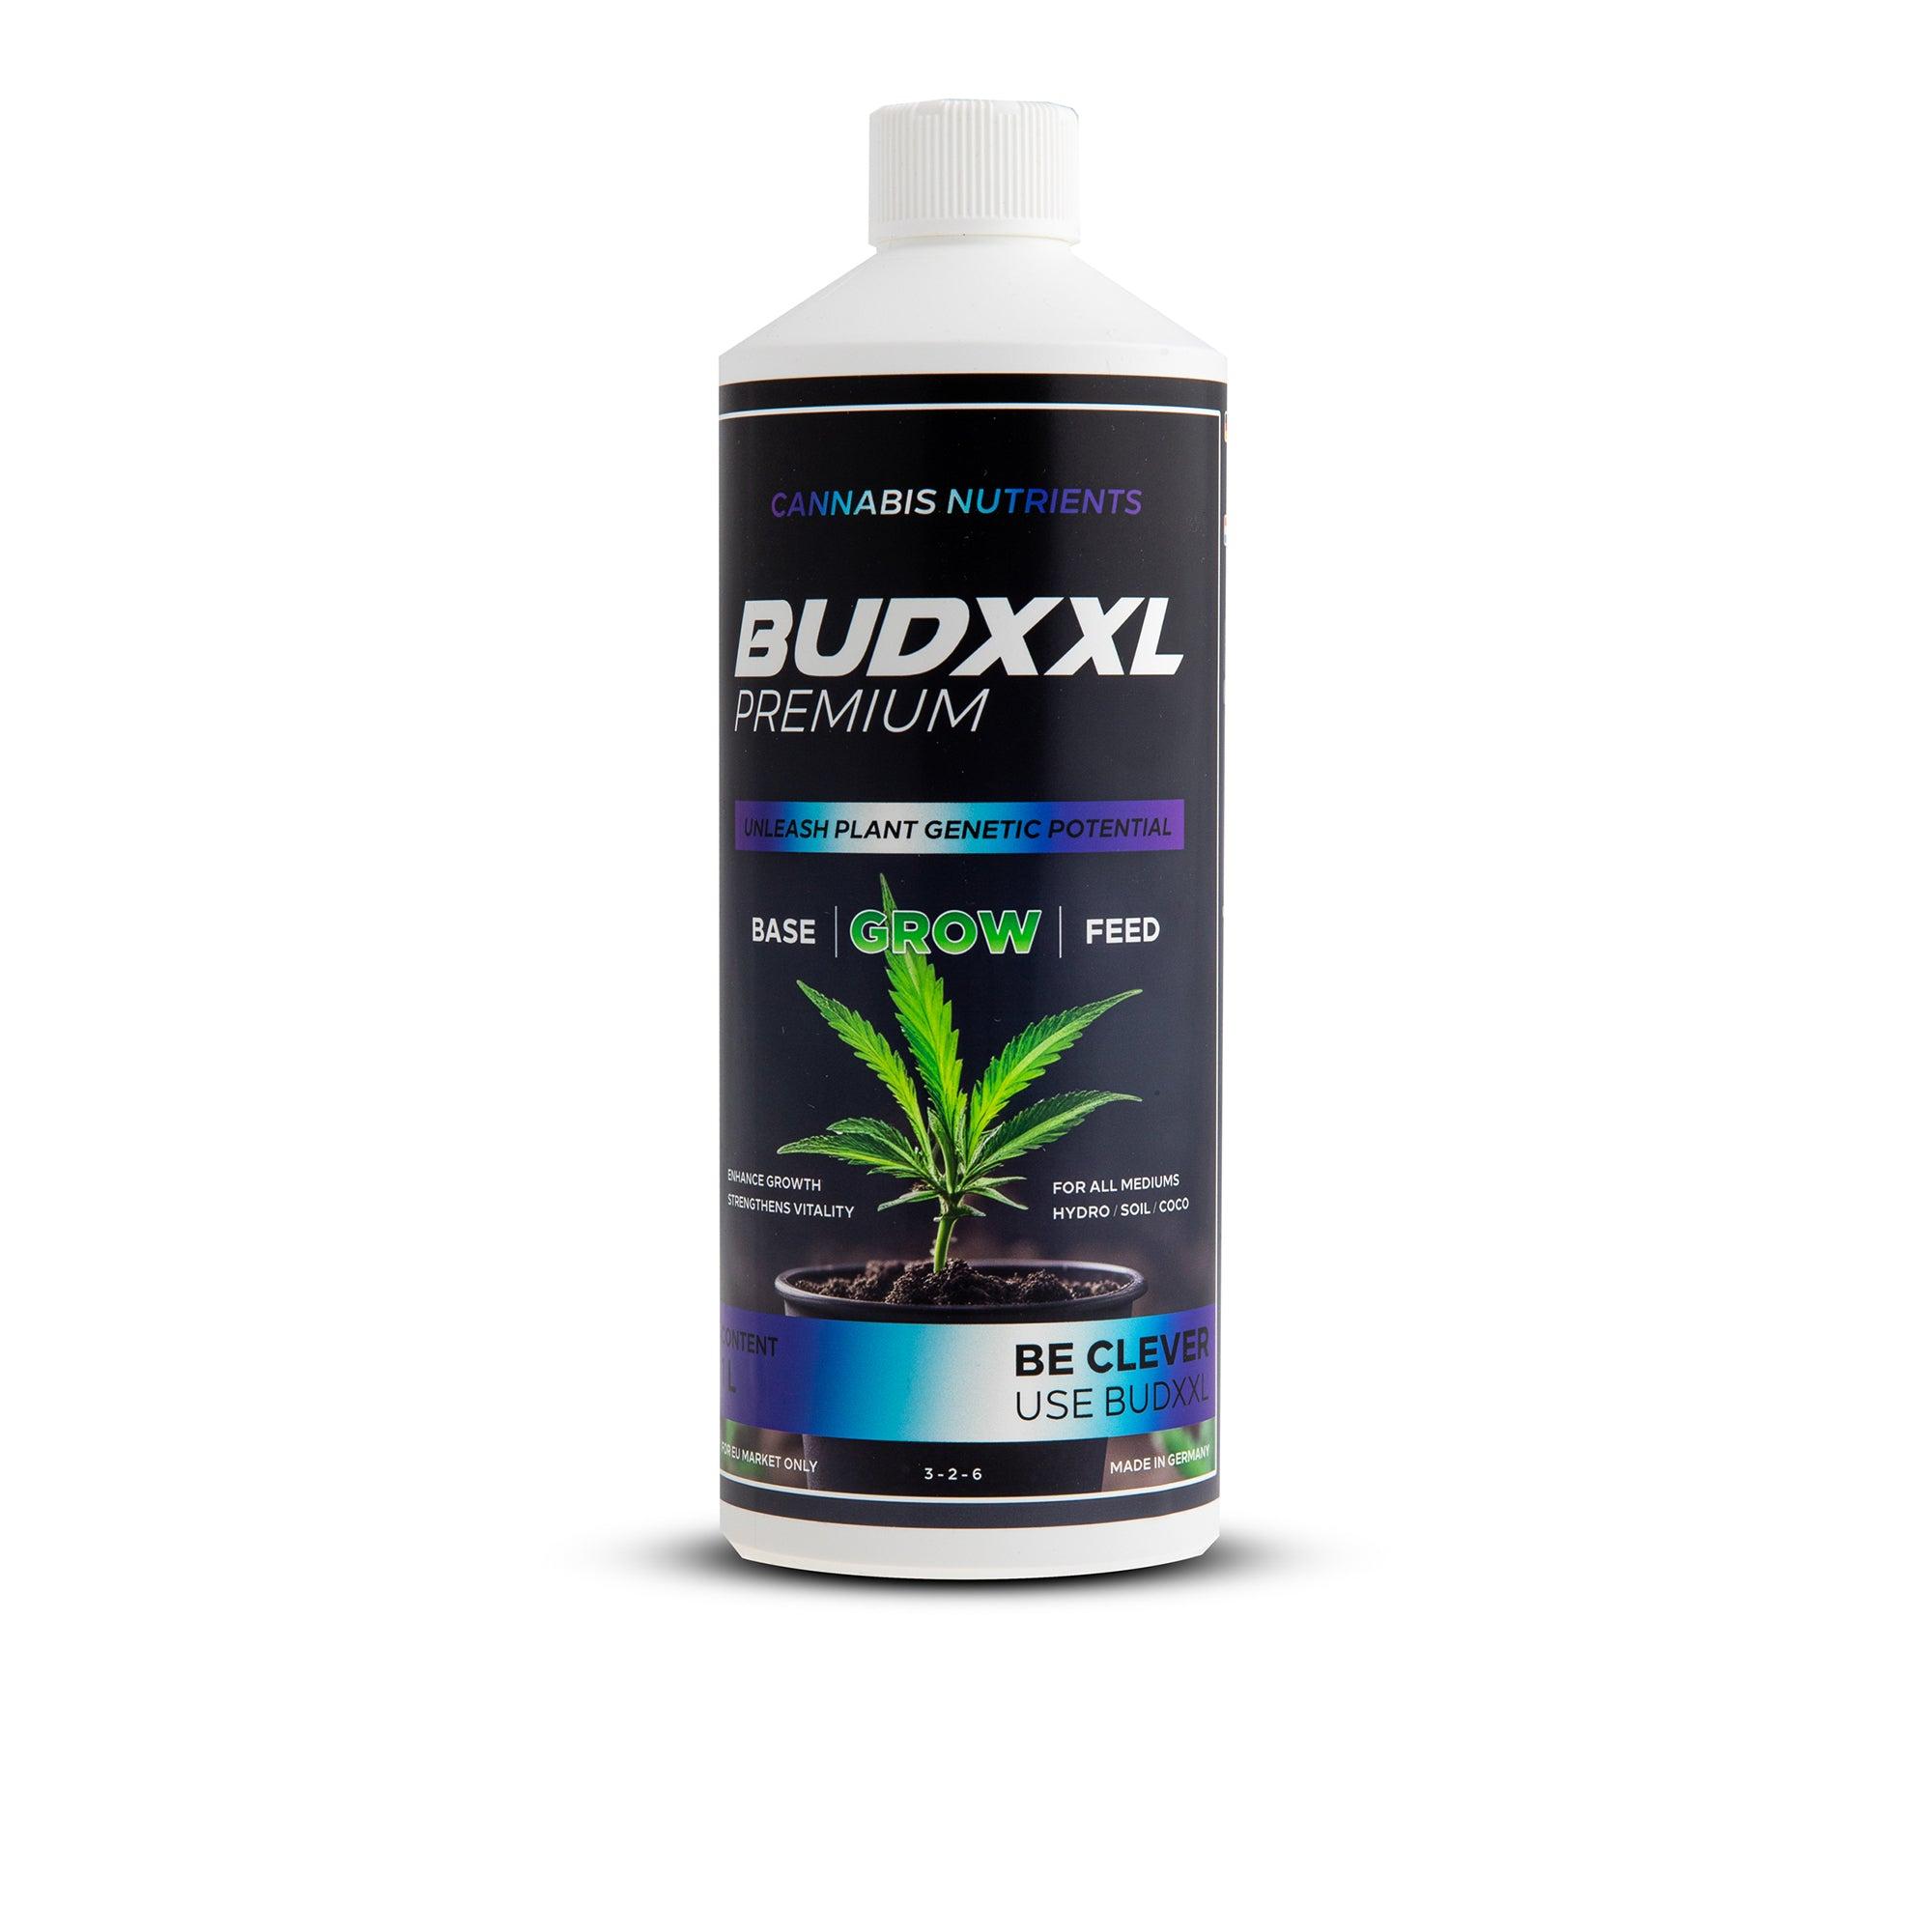
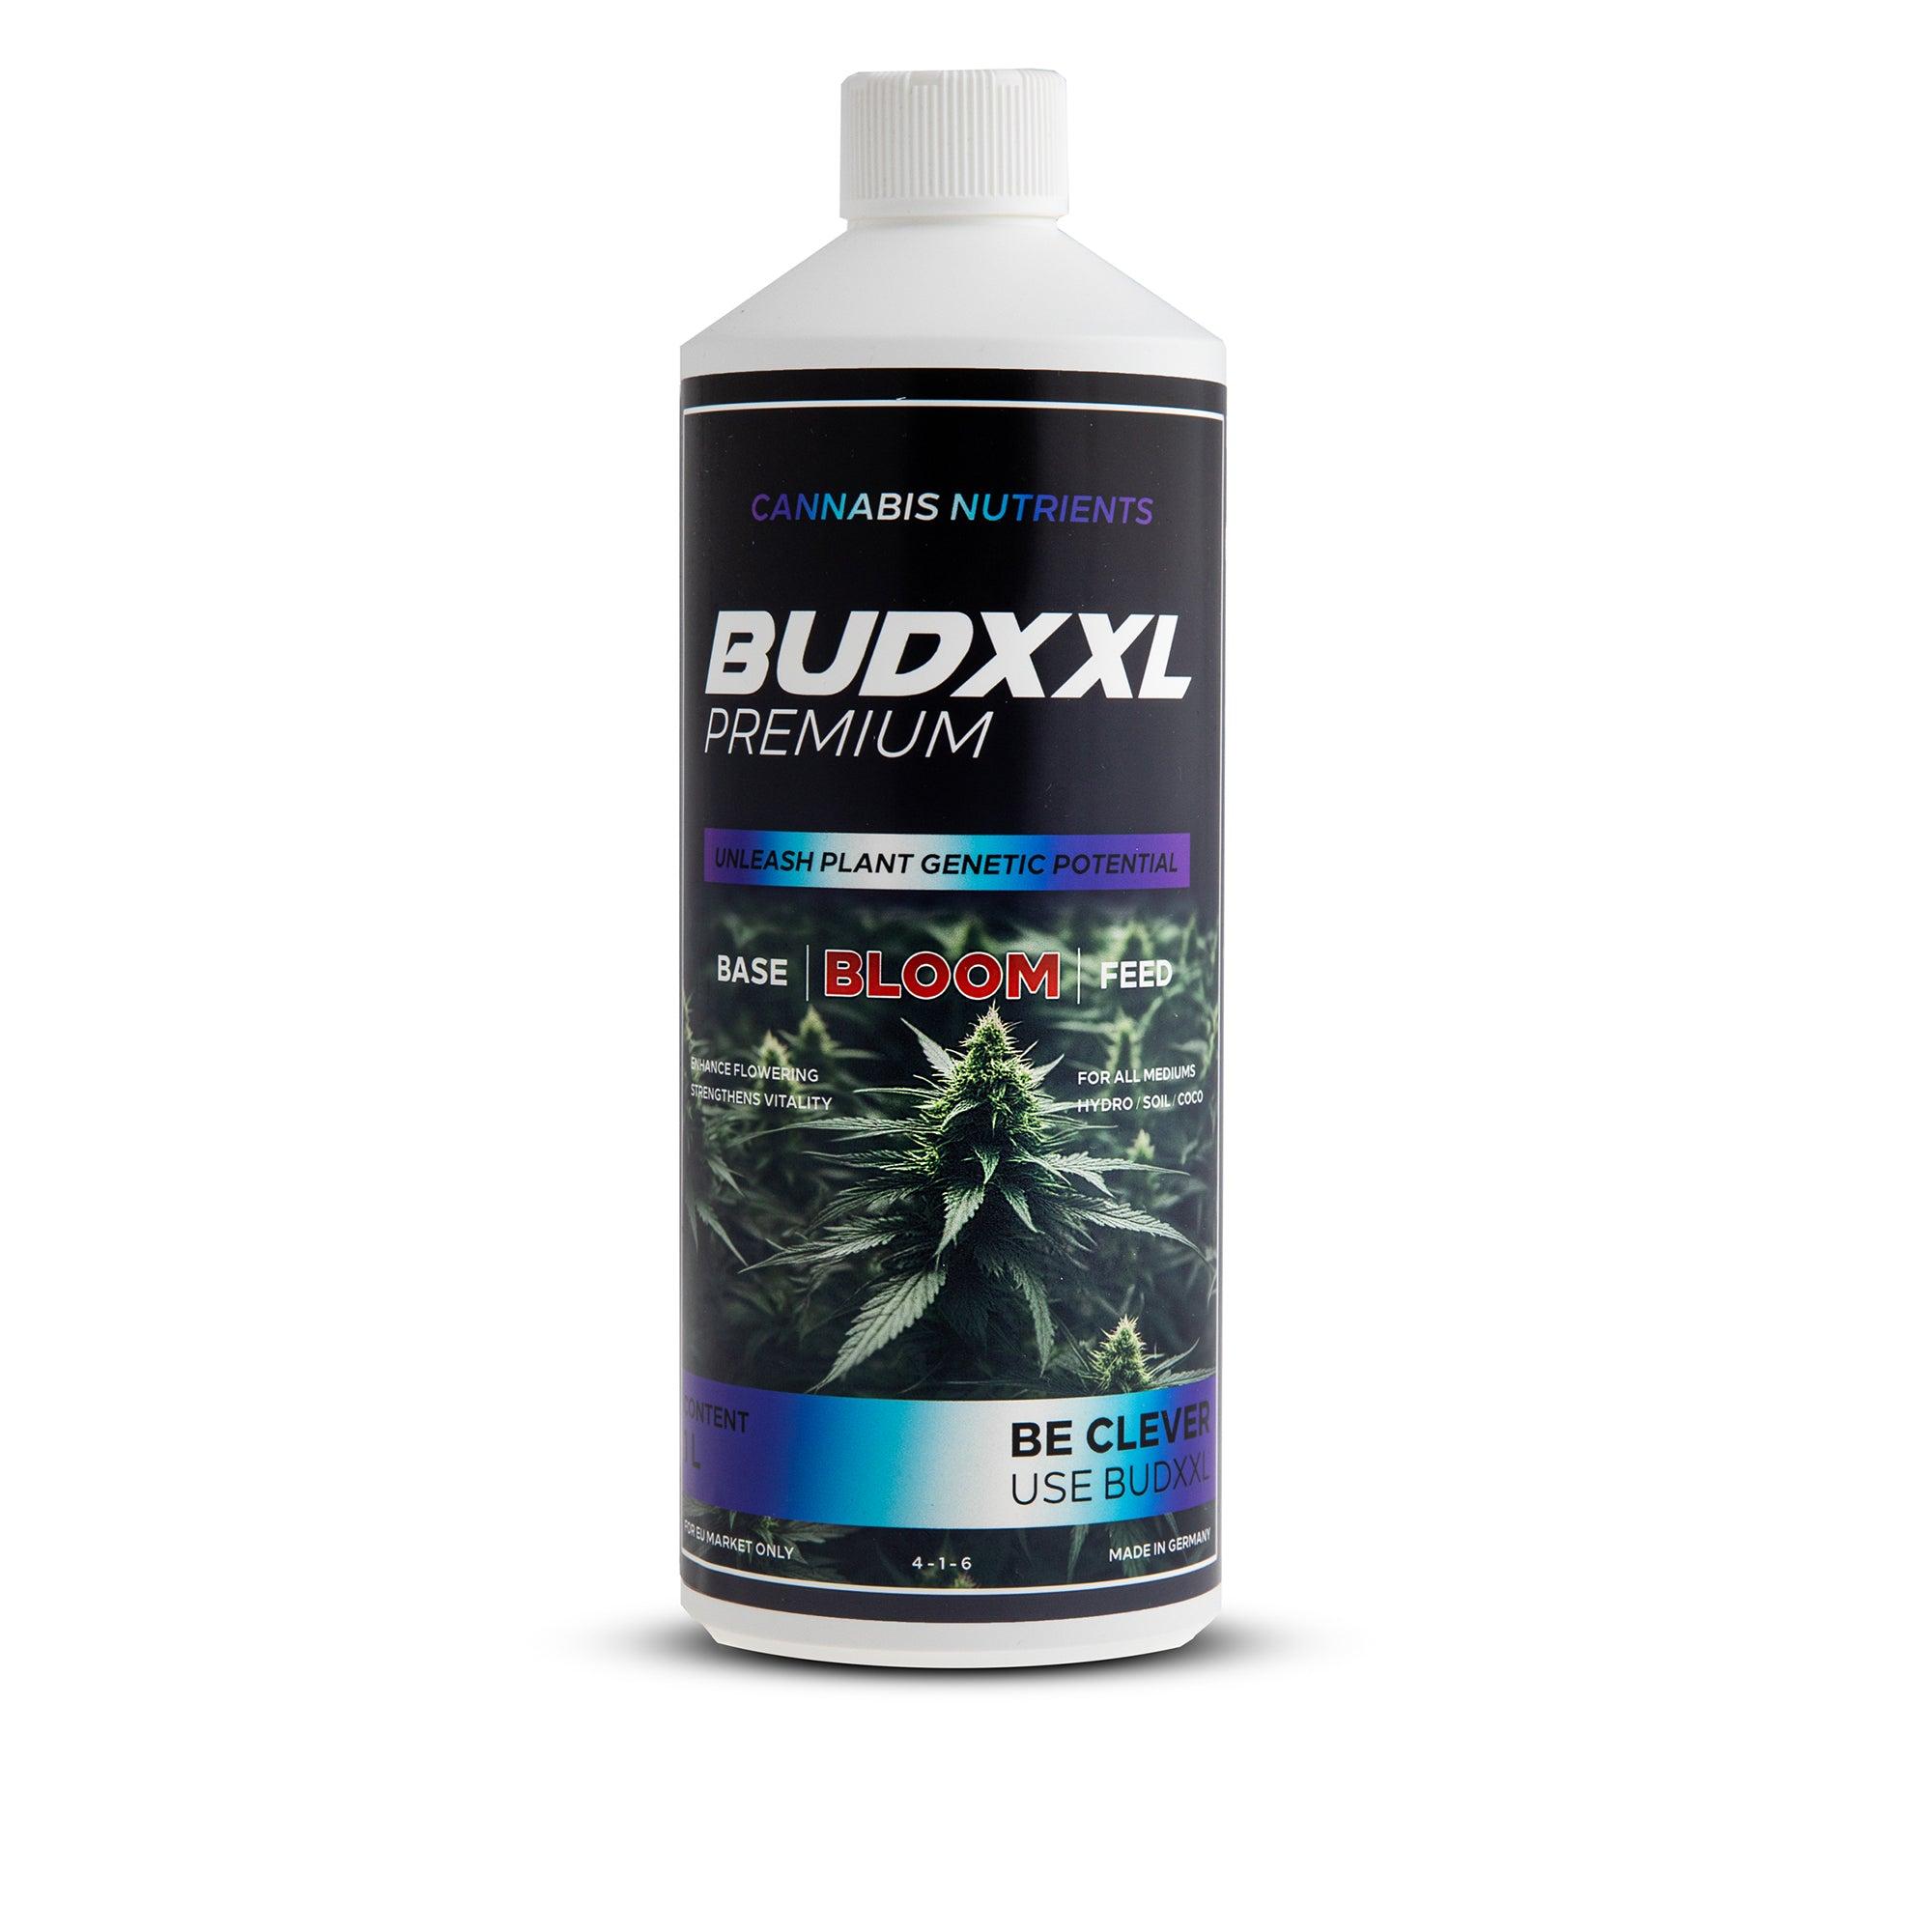
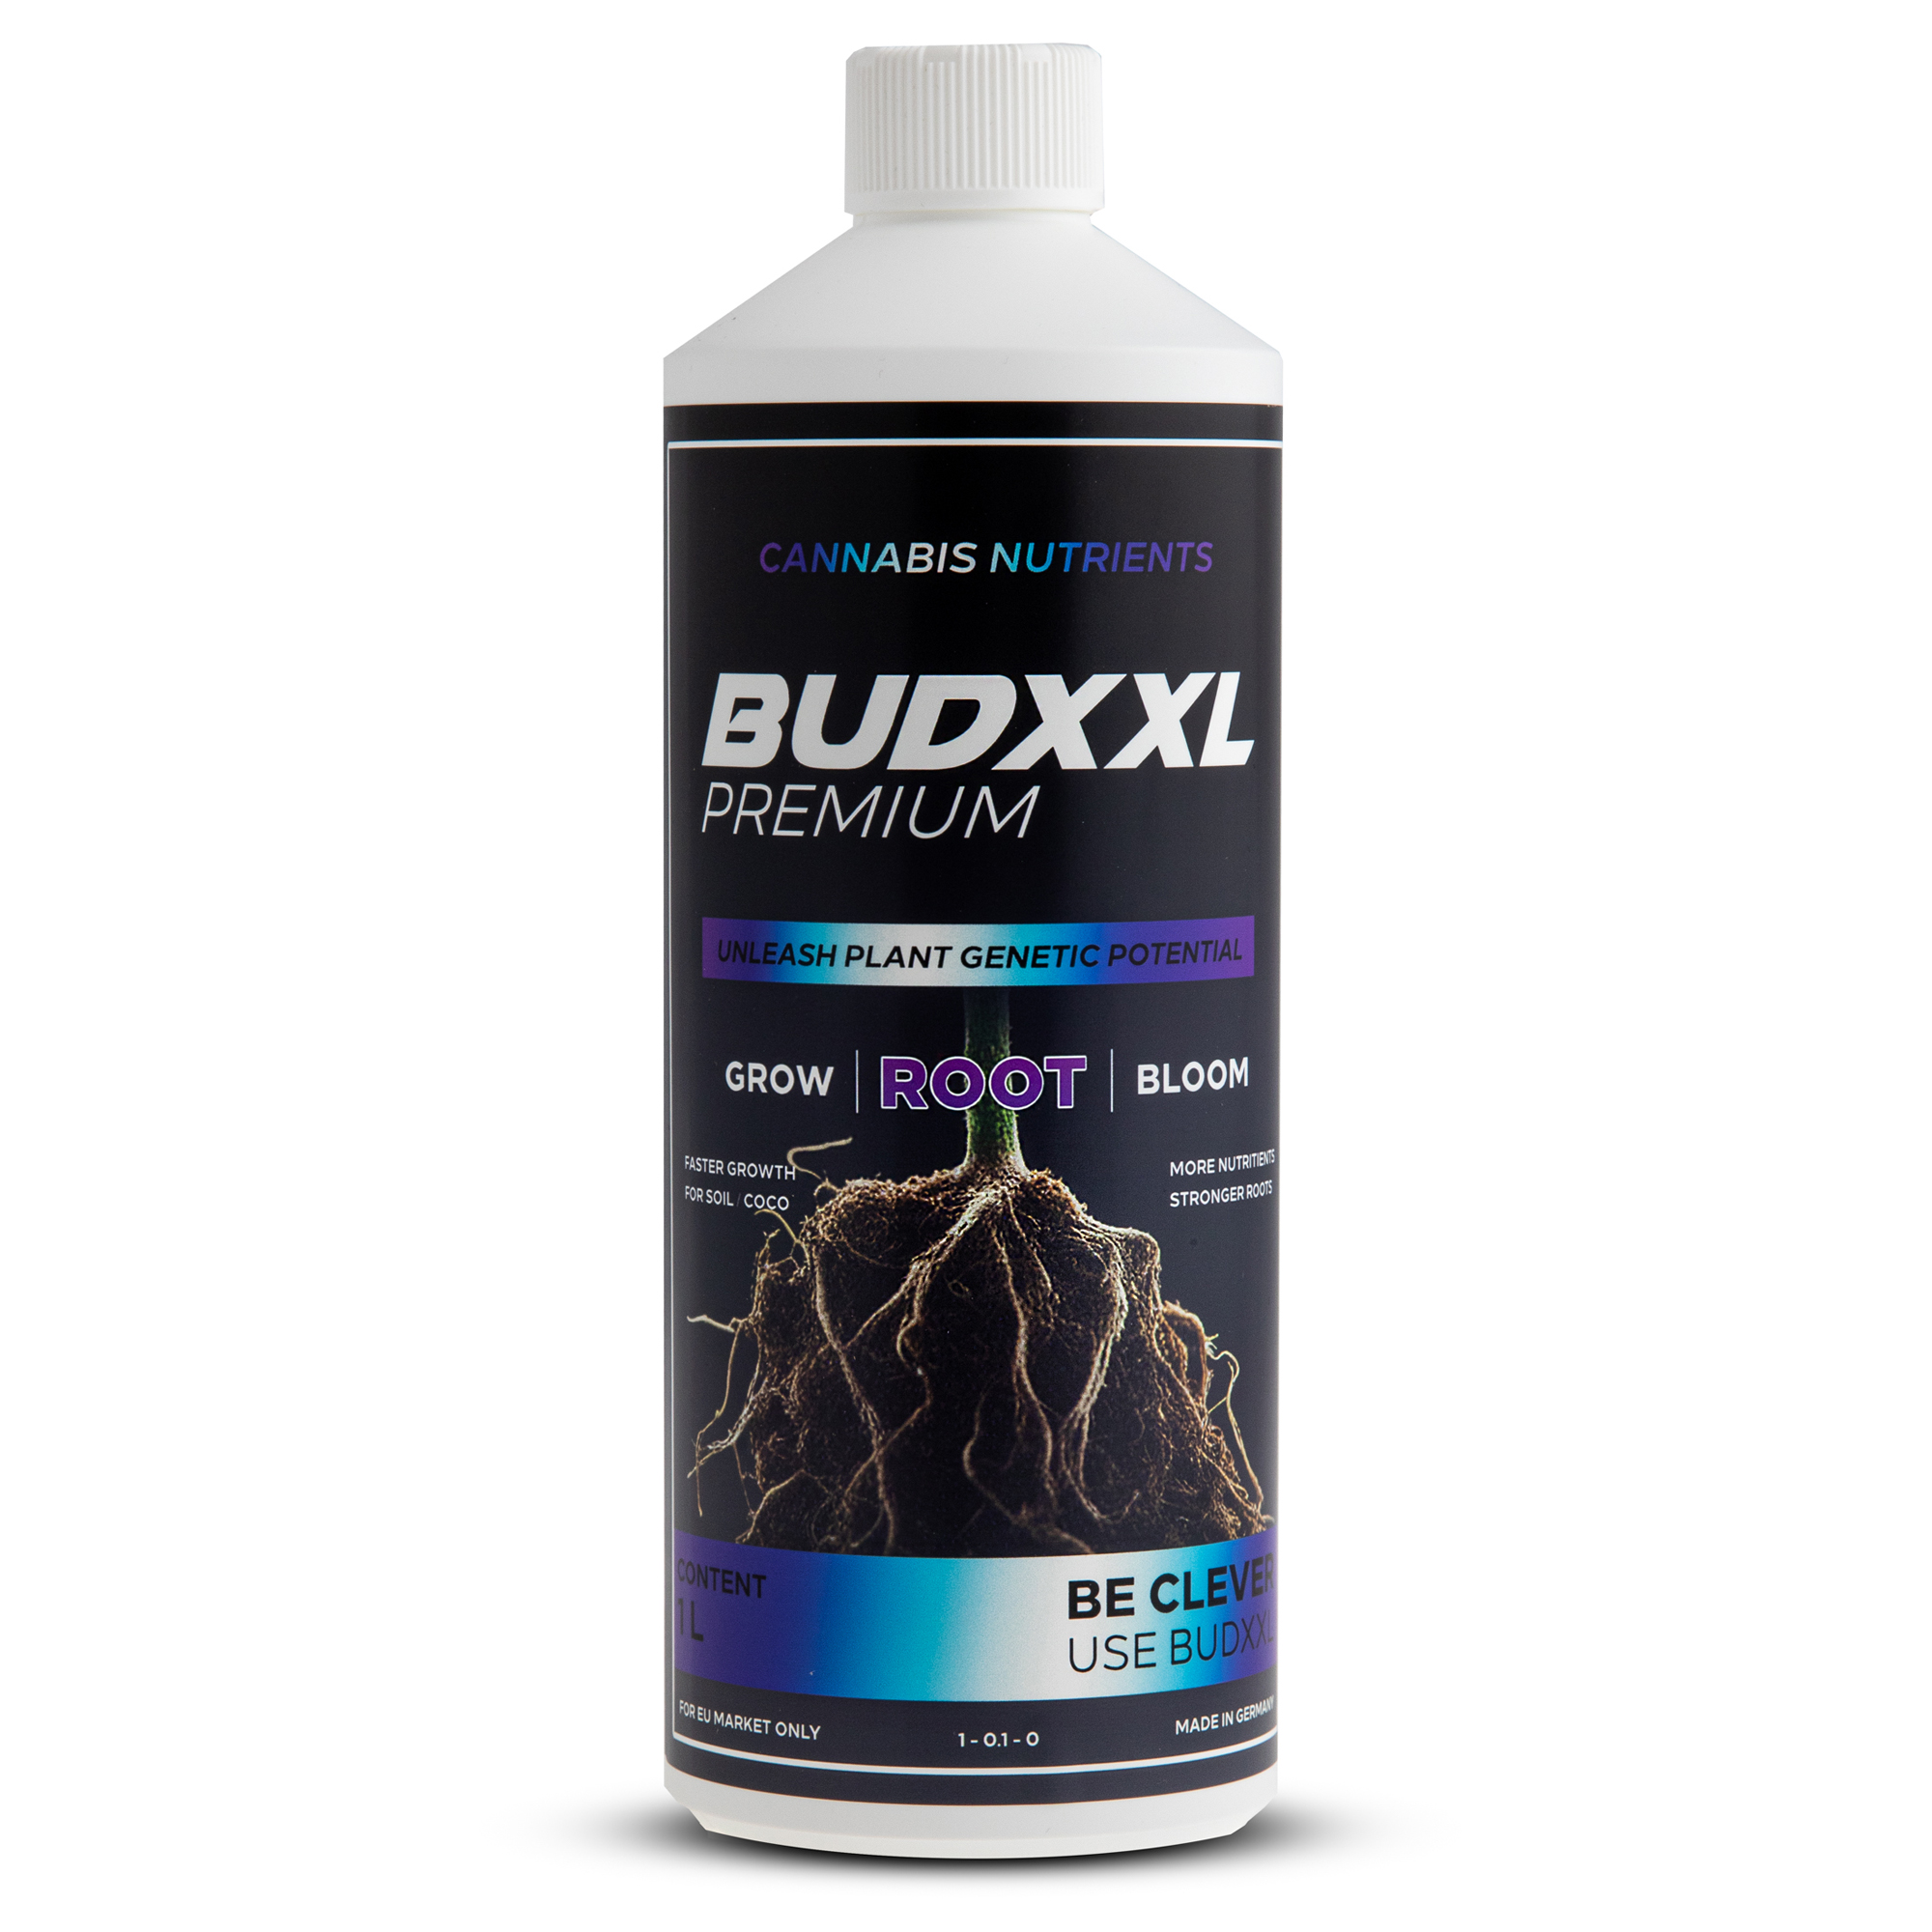
- A coordinated nutrient line such as the BudXXL range.
- Climate control: thermo-/hygrometer and a timer for the lighting.
The phases of a grow
A plant always goes through the same stages. Once you know what happens in which phase, you can hardly go wrong.
- Step 1Germination2-7 days
- Step 2Seedling1-2 wk
- Step 3Vegetativeas needed
- Step 4Flowering8-10 wk
- Step 5Harvestat ripeness
- Step 6Drying+ curing
Germination · 2-7 days
The seed wakes up and forms the first root. Germination works directly in moist substrate or between damp kitchen paper. Keep it warm, dark and slightly moist.
Seedling · 1-2 weeks
The first true leaves appear. Now less is more: water sparingly, high humidity, gentle light. Hardly any feeding, as the seed initially brings its own reserves.
Vegetative / veg · as needed
The plant builds leaf mass and structure. Lighting typically 18 hours on, 6 hours off. This is where actual feeding starts (base: our Grow). How long you let it grow later determines the size.
Flowering · approx. 8-10 weeks
With classic (photoperiod) strains you trigger flowering by switching to 12 hours of light and 12 hours of darkness. Now the buds form and the nutrient demand shifts (base: Bloom, later the booster Candy).
Tip: autoflowering strains flower on their own regardless of the light cycle. Ideal for a first attempt, because you do not have to switch anything.
Harvest · at ripeness
The plant is ripe when the flower hairs turn dark and the resin glands become milky-cloudy. Then the flowers are cut and trimmed.
Drying and curing · 7-14 days + maturing
Dry upside down, then let it mature in jars and ventilate regularly. This final step largely decides aroma and quality. All the details in the guide harvesting and drying done right.
Keeping the climate under control
Cannabis likes stable conditions. Rough guide values:
| Phase | Temperature | Humidity | Light |
|---|---|---|---|
| Seedling | 22 to 26 °C | 65 to 70 % | 18/6 |
| Vegetative | 22 to 28 °C | 55 to 65 % | 18/6 |
| Flowering | 20 to 26 °C | 40 to 50 % | 12/12 |
Towards the end of flowering, keep the humidity on the low side. That prevents mould in the dense buds.
Watering and feeding: the heart of it
The most common cause of frustration for beginners is feeding: too much, too little, wrong timing. With a fixed plan it becomes routine. Two basic rules:
- Do not overwater. Better to water less often and thoroughly and let the medium dry out a little in between.
- Feed to a plan. Which BudXXL product is used when and in what amount is shown in our complete schedule.
Typical beginner mistakes
- Too much water and nutrients. "More helps more" is not true here. Approach from the bottom up.
- Ignored pH. If the pH is off, the plant cannot take up nutrients, despite feeding.
- Too warm or too humid. This encourages pests and mould.
- Harvested too early. Patience pays off in effect and aroma.
- Curing skipped. Without curing, even good material tastes rough.
Setup advice
First setup and still open questions?
Before you buy the wrong thing: write to us in the chat what you have in mind, we will help you choose.
What comes next
- The BudXXL feeding schedule explained (the complete feeding plan)
- Measuring pH and EC correctly (the foundation of healthy plants)
- Spotting and fixing nutrient deficiencies (reading leaves correctly)
- Spotting and fighting pests (stop troublemakers early)
- Soil, coco or hydro? (choosing the right medium)
- Taking cuttings: cloning cannabis (multiply your best plant)
- Harvesting and drying done right (the final phase to harvest)
- Outdoor grow guide (growing outside, only on your own property)
- Reusing and disposing of soil and coco (sustainable after the harvest)
- CanG: what is allowed? (the legal framework)
Your basic kit in the shop
The easiest way is to let the nutrient calculator work out exactly what your grow needs (with one-click add to cart), or start with the ready-made Starter Pack. If you prefer to put it together individually, reach for the coordinated BudXXL line:
 BudXXL Starter Pack (everything to get started)→
 BudXXL Grow→
 BudXXL Bloom→
 BudXXL CalMag→
 BudXXL Root→
Sources
- Ahrens, A., Llewellyn, D. & Zheng, Y. (2023): Is Twelve Hours Really the Optimum Photoperiod for Promoting Flowering in Cannabis sativa? Plants 12(14):2605. doi.org/10.3390/plants12142605
- Mahmoud, M. et al. (2023): Understanding bud rot development, caused by Botrytis cinerea, on cannabis. Botany. doi.org/10.1139/cjb-2022-0139
- Identification and mapping of major-effect flowering time loci (Autoflower1) in Cannabis sativa (2022). Frontiers in Plant Science 13:991680. doi.org/10.3389/fpls.2022.991680
Legal note: The private cultivation of cannabis has been permitted in Germany for adults within the legally regulated framework since the Consumer Cannabis Act (CanG, 2024) (limited number of plants, personal use, no access for minors). This article does not replace legal advice. Inform yourself about the rules that apply in each case and abide by them.